How to Install Gabion Baskets
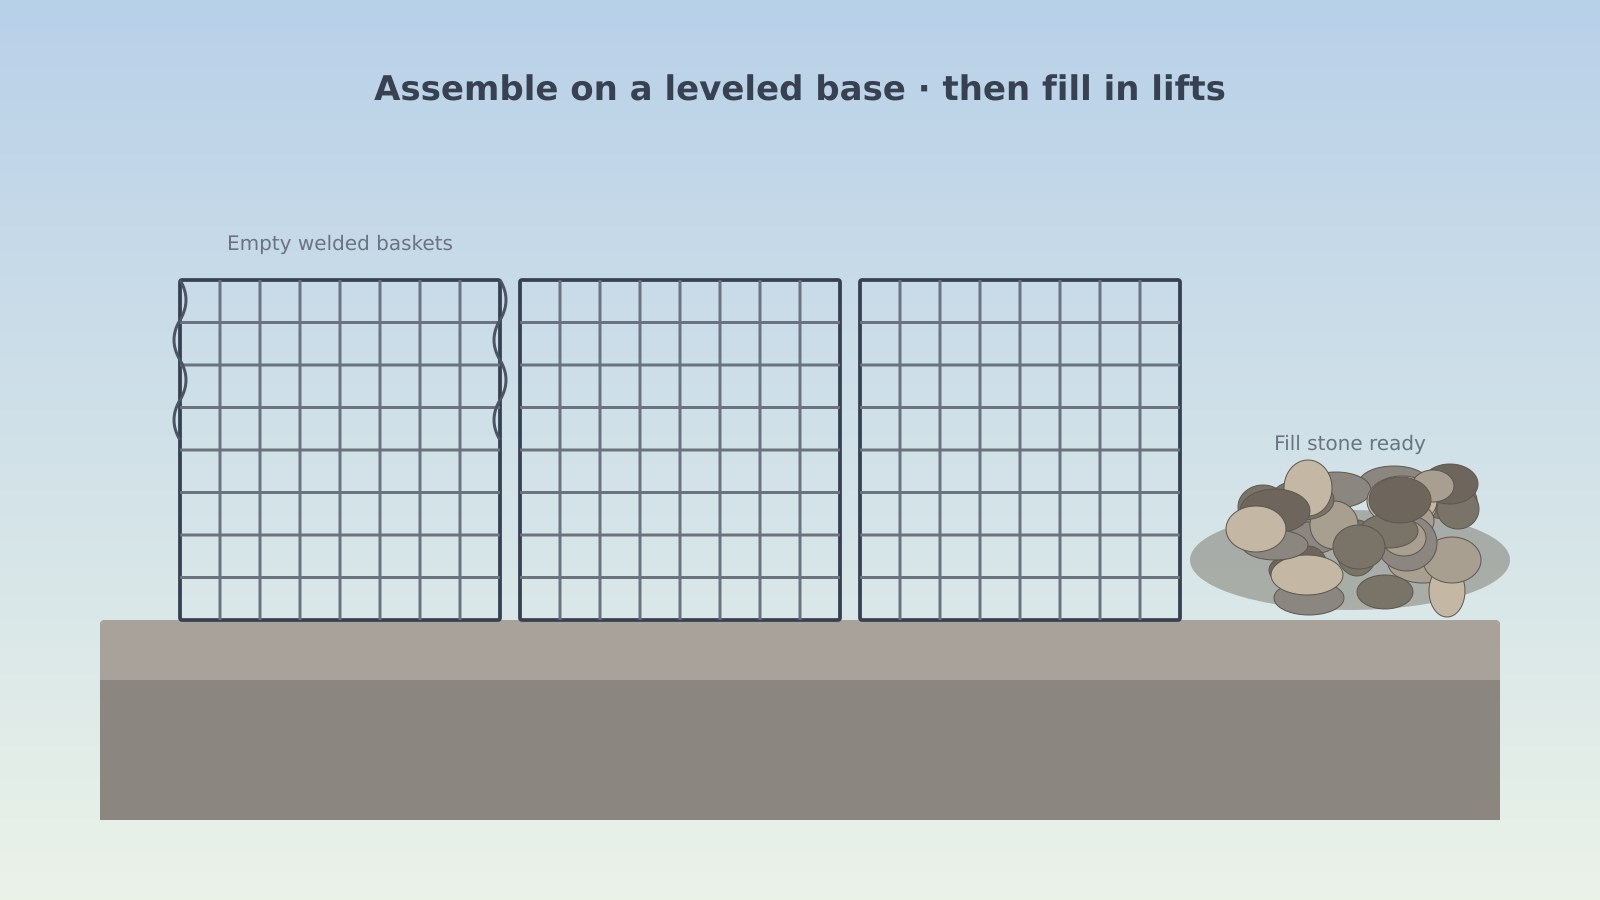
Installing gabion baskets is mostly assembly, bracing, careful filling, and secure closure. GabionBaskets.com summarizes the sequence homeowners see in typical manufacturer manuals and public construction guidance (for example NRCS-style Construction Specification 64 language). This is an educational overview, not a site-specific method statement.
Always follow the instructions and fastener schedule for the exact product you bought, plus local codes and permits. Tall walls, structural surcharge, and water work need a qualified professional — see DIY vs contractor.
Before you start (checklist)
- Confirm the project is appropriate for DIY scale (Retaining walls, Landscape & garden).
- Match mesh opening to fill stone (Fill stone, Sizes & specs).
- Confirm coating for site exposure (Mesh & coatings).
- Mark utilities; check setbacks, HOA rules, and drainage paths.
- Stage baskets, fasteners, stiffeners, fabric (if specified), base material, and stone so you are not chasing materials mid-fill.
- Skim Common mistakes once before the first basket goes up.
Tools and materials (typical)
Exact kits vary. Commonly you will need:
- Empty baskets or panel sets (welded or woven)
- Fasteners supplied or specified for that product: spiral binders, lacing wire, and/or ring fasteners
- Stiffeners / crossties for taller unrestrained cells
- Level, string line, measuring tape, gloves, eye protection
- Lid-closing tools approved by the manufacturer (not improvised pry bars that tear mesh or coatings)
- Stone that meets the size band for your unit type
- Optional: geotextile and free-draining backfill as required by the design
Welded vs woven assembly feel differs — Welded vs woven.
Step 1 — Prepare the foundation
Public construction guidance and manufacturer practice typically call for a firm, level bearing surface. On many residential jobs that means:
- Excavate to suitable subgrade for the planned footprint
- Remove soft, organic, or frozen material from the bearing zone
- Place and compact a granular leveling course when the design or manufacturer guidance calls for it
- Check elevation and alignment with a string line so the first course does not “walk” out of plumb
We do not invent a universal embedment depth or batter angle here — those belong in your product instructions or an engineered plan.
Step 2 — Unfold or erect the baskets
Woven units often arrive folded; open them carefully without kinking selvedge wires. Welded systems often arrive as panels you raise into a box.
- Assemble corners and edges with the specified fasteners (spirals are common on welded kits; lacing or approved rings are common on woven kits)
- Install diaphragms so cell lengths match the product layout
- Connect adjacent baskets in a row before heavy filling so the run acts as a unit
- Stretch woven baskets for alignment when the manufacturer requires it; welded mesh typically does not need stretching in the same way
Stake for temporary alignment only if allowed — and never drive stakes through geotextile in a way that ruins the filter.
Step 3 — Brace as you fill (do not skip)
Bulging faces are one of the most common DIY failures. Common NRCS-style guidance for unrestrained cells taller than about 18 in (450 mm) includes placing internal connecting wires / stiffeners as rock is placed — often described as two connections at about each 12 in (300 mm) of fill depth.
Typical patterns described in that guidance family:
| Mesh type | Common bracing idea (educational summary) |
|---|---|
| Woven | Crossties from front face to back, looped around mesh openings and twisted closed per instructions |
| Welded | Diagonal corner stiffeners (often about 12 in / 300 mm from corners) or hooked preformed stiffeners |
Manufacturer diagrams override this summary. Low garden cubes that stay restrained on all sides may need less bracing — still follow the datasheet.
Step 4 — Place stone in lifts
For standard baskets (heights such as 12 / 18 / 36 in / about 0.3 / 0.45 / 0.9 m), industry rock tables commonly call for a predominant size around 4–8 in (100–200 mm). Details: Fill stone.
Educational filling habits drawn from public construction specs and manufacturer notes:
- Fill cell by cell in stages so one cell does not lead adjoining cells by more than about 12 in (300 mm) of rock depth.
- Combine machine placement with hand work — dump-only filling leaves voids and crooked faces.
- Hand-dress exposed faces for a neat, compact look and fewer face voids.
- Install stiffeners/crossties at the depths your instructions require as lifts proceed.
- Protect PVC/polymer coatings from scrapes when placing sharp rock.
- Level the final lift; some manufacturer notes allow a slight crown (on the order of about 1–2 in / 25–50 mm) above the rim to allow for settlement before lid closure — follow your product sheet, not a universal rule.
Step 5 — Close lids and secure the course
- Pull the lid tight over leveled stone using approved closing tools
- Lace, spiral, or ring-fasten the lid to sides, ends, and diaphragms per the product method
- Connect the next course (if stacking) with the fasteners and pattern the manufacturer shows
- Backfill behind retaining runs with the drainage detailing your design requires — permeable fill in the basket does not automatically fix a clay backfill problem (Retaining walls)
Step 6 — Inspect before you walk away
| Check | Why it matters |
|---|---|
| Faces reasonably plumb / aligned | Progressive lean compounds on upper courses |
| No large face voids or undersized gravel at the mesh | Rock can migrate out; looks unfinished |
| Fasteners continuous at seams and lids | Open seams are weak points |
| Bracing present where required | Limits bulging |
| Drainage path clear | Water still needs a designed exit behind walls |
| Coating not heavily damaged | Scratched polymer/zinc invites early corrosion |
HowTo schema note (publishers)
This page’s steps are intentionally general. If you emit HowTo structured data, keep the markup aligned with these educational steps and retain the disclaimer below. Do not present GabionBaskets.com as providing a stamped installation procedure.
Related guides
- Sizes & specs · Welded vs woven
- Fill stone · Mesh & coatings
- Common mistakes · DIY vs contractor
- Cost factors · FAQ
- Hub: GabionBaskets.com homepage
Questions about our guides? See Contact. About this site: About. Privacy: Privacy.
Educational disclaimer: Content on GabionBaskets.com is for general education only. It is not a site-specific design, engineering stamp, or construction contract. Tall walls, walls supporting structures or traffic, channel work, and other critical applications need a qualified designer or engineer. Always follow local building codes, permits, and the manufacturer’s assembly instructions for the baskets and coatings you buy.